Anti-Termite Reticulation System
An Anti-Termite Reticulation System is a strategically designed network integrated into a building’s foundation and structure that delivers termite-repelling or termite-killing agents continuously over time. Here’s a breakdown of its key aspects:
- Integrated Network:
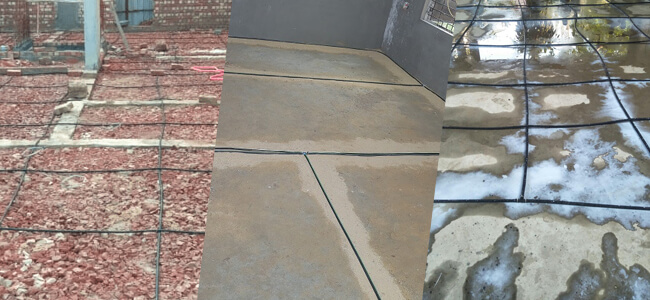
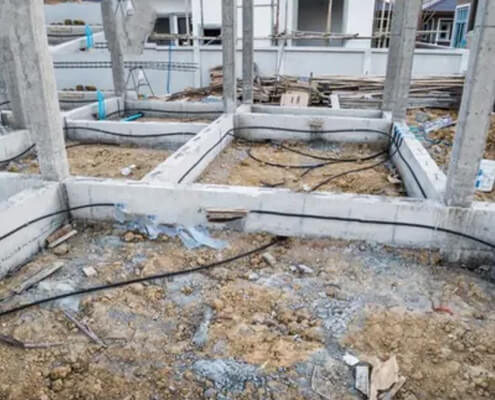
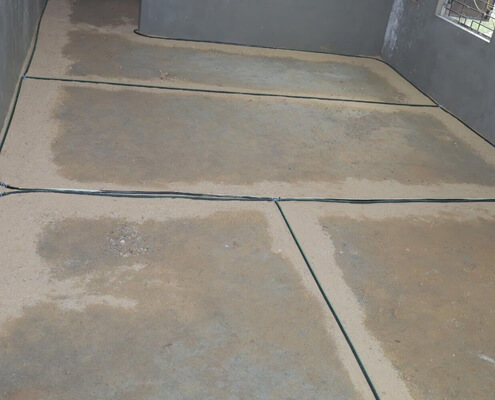
The system typically involves a network of perforated pipes or channels installed during construction. These are positioned around the perimeter and vulnerable areas of the building. - Chemical Barrier:
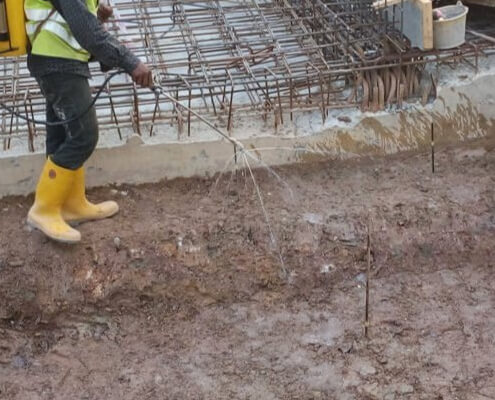
Through the network, termiticides (chemical agents) are either initially applied or periodically re-applied. This creates a continuous protective barrier that deters termites from gaining access to the building. - Long-Term Protection:
The reticulation system is designed for durability and ease of maintenance. It allows for regular monitoring and re-treatment, ensuring that protection is sustained over the building’s lifespan. - Complementary Measures:
Often, such a system works in tandem with physical barriers and routine inspections, forming a comprehensive termite management strategy.
This system is particularly valued in regions where termite infestations pose a significant risk to the structural integrity of buildings. If you need more technical details or have specific questions about installation or maintenance, feel free to ask!
Installation of Anti-Termite Pipping System
Installing an Anti-Termite Piping System involves a series of carefully planned steps to ensure long-lasting protection for your structure. Below is an overview of the process:
1. Site Assessment & Design
- Survey the Property:
A thorough inspection helps identify vulnerable areas, potential termite entry points, and soil characteristics. - Design the System Layout:
Determine the piping network’s layout around the foundation, focusing on critical areas such as the perimeter and any subterranean access points.
2. Preparation & Trenching
- Plan the Trench Lines:
Mark the areas where pipes will be laid, following the design plan. - Excavation:
Dig trenches along the designated paths. The depth and width of trenches depend on local building codes and the type of termiticide used.
3. Pipe Installation
- Lay the Piping:
Position the anti-termite pipes within the trenches. Ensure proper spacing and alignment to provide uniform coverage. - Secure the Pipes:
Connect pipes to injection ports or junction boxes as per the design. Verify that all connections are secure and leak-proof.
4. Termiticide Injection
- Apply the Chemical:
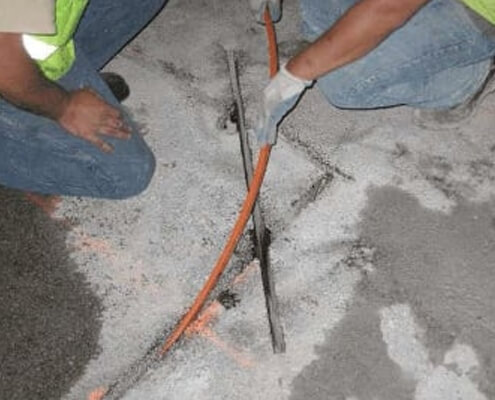
Inject the termiticide into the piping system. The chemical will permeate the surrounding soil, creating a barrier against termite intrusion. - Monitor Distribution:
Ensure even distribution across all segments. Some systems allow for periodic re-application, so leave access points clear.
5. Backfilling & Finishing
- Backfill the Trenches:
Carefully replace the excavated soil, making sure not to disturb the installed pipes. Compact the soil to avoid settling issues. - Final Inspection:
Conduct a final check to confirm that the system is installed correctly, with all connections secure and no signs of leakage.
6. Ongoing Maintenance
- Regular Inspections:
Schedule routine inspections to monitor the system’s integrity and effectiveness. - Reapplication (if needed):
Depending on the product used, some systems may require periodic re treatment to maintain efficacy.

